

If you can make a smoothie, you can make your own soap. Seriously. In this article I am going to show you just how easy it really is to make your own soap.
Your soap will have exactly 3 ingredients in it (unlike the dozens of impossible-to-pronounce ingredients found in store-bought soaps). This is a step-by-step guide from someone who has been making soap for home use for over 10 years. Lets get to it!
Materials you will need
1) Water (16 oz.)
2) Oil (olive oil, grapeseed oil etc)
3) Lye (sodium hydroxide)
Candy/soap thermometer
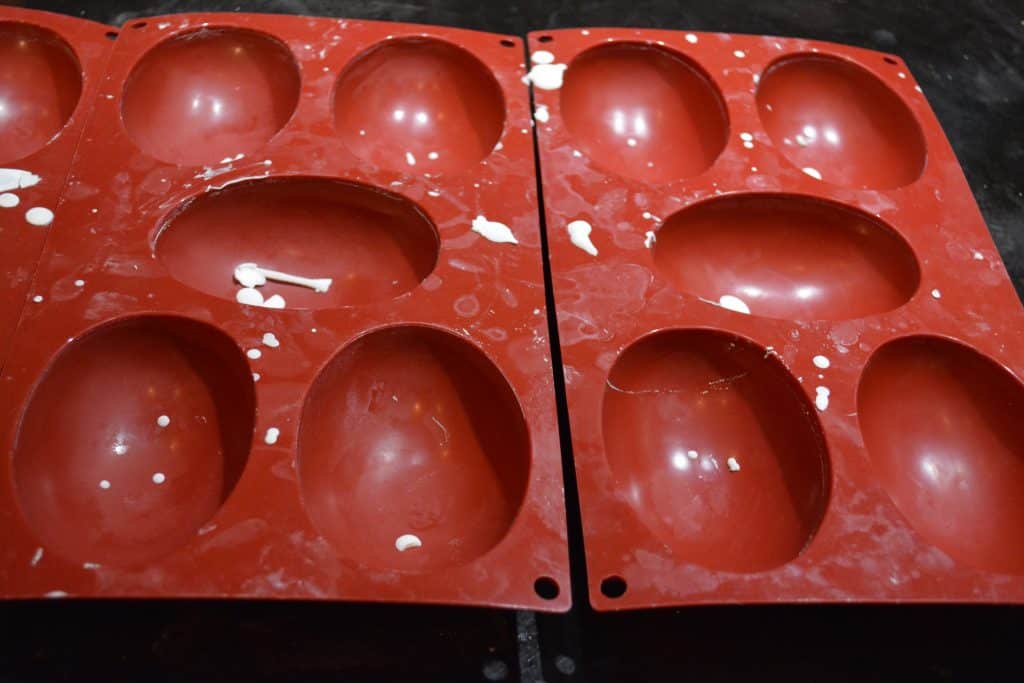
Silicone soap molds (optional)
Stick blender (optional but not really)
Fragrance (optional)
Pot
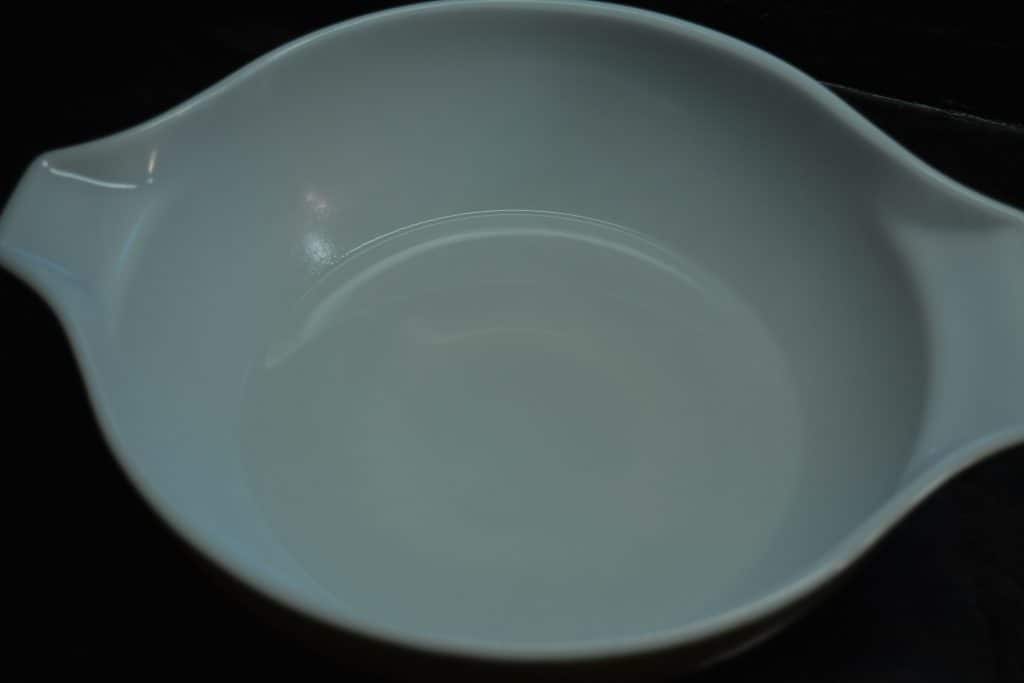
Glass bowl
Goggles (NOT optional)
Gloves (latex or rubber)
Weight scale (for weighing out lye)
Measuring cup
Silicone spatula
Wooden spoon
Time: 35 minutes (set-up to clean-up)
Here’s the general recipe
- 34 oz. Olive oil
- 17 oz. Grapeseed oil
- 16 oz. cold water
- 7 oz. Lye
- Water + lye in a bowl to dissolve.
- Mix both oils together in a pot, heat to 100 degrees, then add the lye mixture and stir until trace.
- Pour mixture into soap molds.
Step 1
Layout all your materials in the right place so you are not running around trying to find things. This is the staging process that helps save time and makes the whole thing more efficient.
Put your pot on the stove, oils next to the pot, get out the glass bowl for the lye/water mix, pull out your scale and lye (place next to glass bowl), put your stick blender next to the stove, clip your thermometer onto the pot, have your measuring cup at the ready.
Step 2
Use your scale to weigh out 7.0 ounces of lye. Keep in mind that this is the only part of the process that carries with it a bit of risk. Lye is very caustic so its important that you wear your goggles and gloves when handling it.
Step 3
Once you have the lye measured out you will want to fill a glass bowl with cold water. Fill it with 16 oz. ounces of cold water.
Step 4
You are going to next add the lye to the water. Ideally, if you can do this outside, that is best. Not only does the bowl get warm to the touch but it produces some fumes for a short while as the the lye dissolves in water.
Its best if you just pour your lye in the bowl and leave it until you’re ready to add it to the heated oils.
Step 5
Now lay out your soap molds if you have chosen to use them. I use them because soap molds allow me to make soap in any shape I like. I chose a nice, natural shape so its easier to hold and use in the shower.
Some folks pour their soap in to shallow pans and cut it into bars when its hardened. Personally, I don’t like corners and edges on my soap so I go with molds. They are not too expensive and will last your whole soap making career.
Step 6
Measure out your oils. To avoid transporting your oils from this place to that place its easier to just put your pot on the burner and pour in your oils. For this particular recipe we are going to be using 51 ounces of oil. I have chosen the ratio of 34 ounces of olive oil and 17 ounces of grapeseed oil.
Step 7
We are now ready to heat the oils on the burner. Clip the candy thermometer on the side of the pot being careful to not let the glass of the thermometer touch the bottom of the pot itself.
Start to heat the pot of oils at medium/high heat. The goal is to heat it until it reaches 100 degrees F. This will not take long so keep an eye on the thermometer.
 Step 8
Once the oils have reached the desired temperature you can shut down the heat. Its now time to retrieve your bowl of water/lye solution. You may notice that the lye has formed a crystallized crust at the bottom. Not a big deal. Simply break it up with a wooden spoon until its completely dissolved.
Wooden spoon not doing the trick? Use a steak knife to break it apart. Be sure to wear your goggles and gloves when doing this. Now take your lye/water solution and add it to the pot of hot oils.
Now comes the stirring. In the old days, people would just sit there and stir for hours until it was ready to pour and it took for EVER! Now with stick blenders ( I use a cheap Toastmaster) we can speed up the whole process without sacrificing quality of the final product.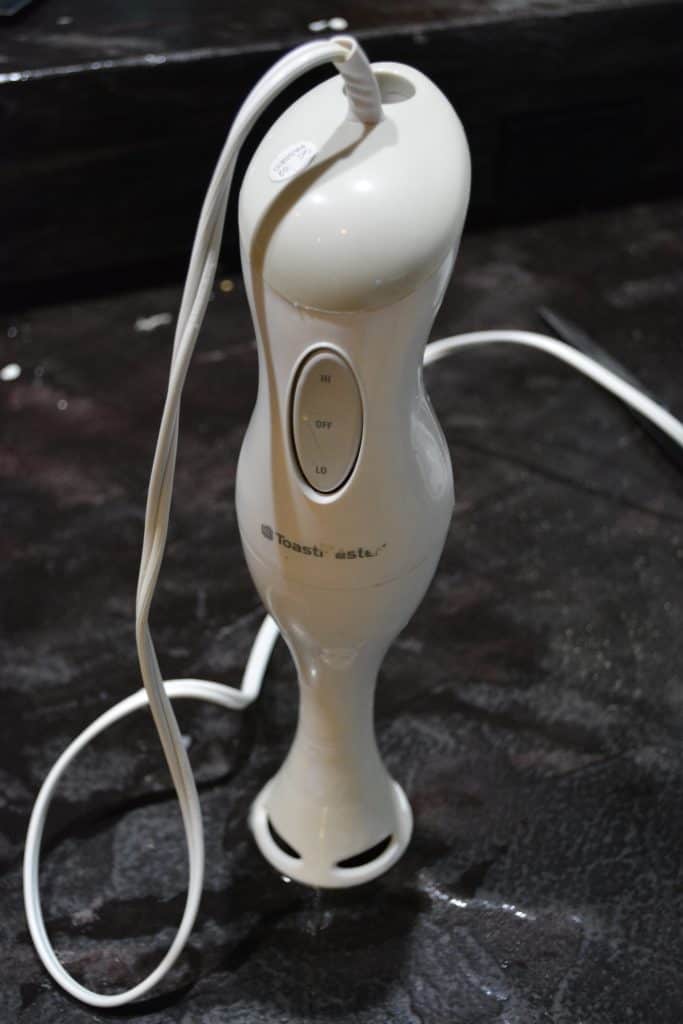
Step 9
If there is a tricky part to all of this, then this would be it. You must find a balance between stirring enough to promote the saponification process but not going too much that you over-accelerate the process.
We are now trying to reach a physical and chemical state of this mixture called “trace”. What is trace? When you throw a rock into water it creates ripples that quickly form and just as quickly dissipate.
Trace is when those ripples kind of stick around, they leave a trace on the surface of where something has penetrated. The way you will test this is by just picking up your stick blender out of the liquid and watching what happens to the drips as they hit the surface of the mixture.
You will want to watch the texture of the surface. Does the ripple go away quickly or does it remain? This is a gradual process where you will see more and more evidence of ripples (unless you use the stick blender too aggressively). 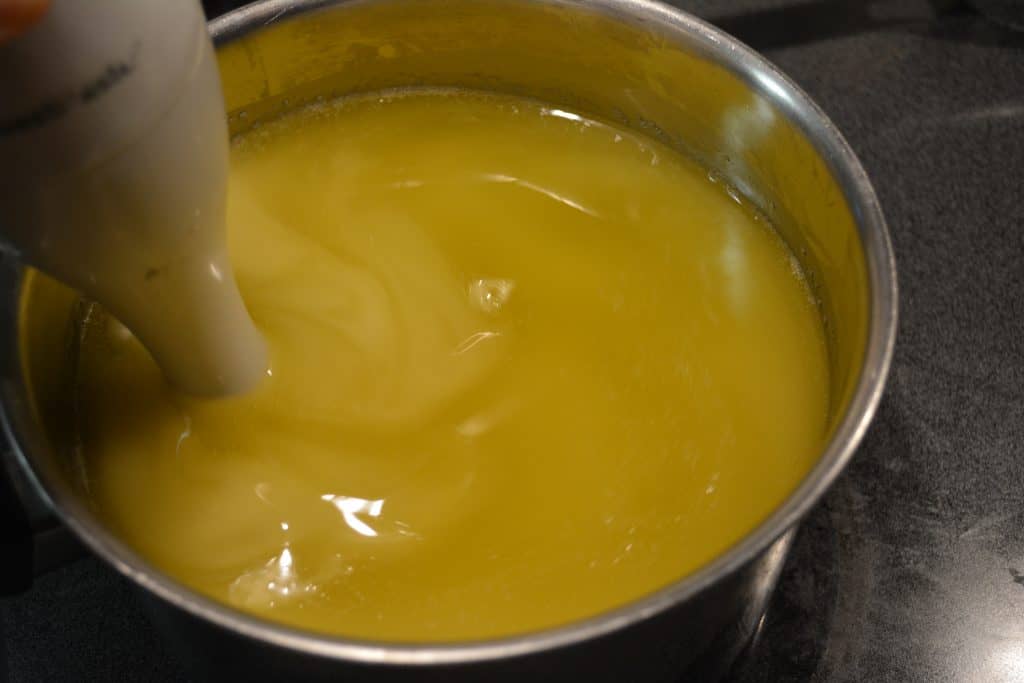
Essentially you are going to oscillate between stirring manually with your stick blender off and stirring with it on. Its okay to perform this part too slow but if you rush this part it will start to harden too fast and you will run out of time to put it in the molds.
This process takes me about 9 minutes until I began to see “trace”. My pattern was this: swirl the stick blender in circles with the blender off then every 20 or 30 seconds or so I would do a couple swirls with the stick blender on.
Be sure to keep the the blender fully submerged when you turn it on. Repeat this pattern and as you do you will notice that every time you turn the blender on the liquid starts to appear more and more milky. This is good. It means you are getting closer to trace.
Step 10
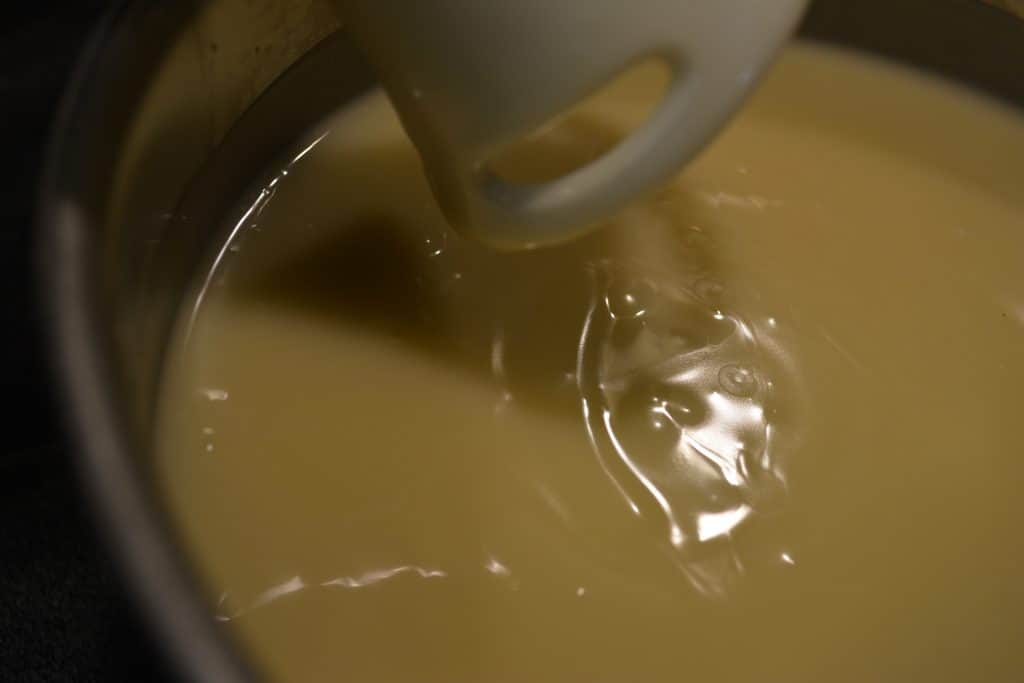
Once you have reached trace you will want to take your pot of soap mixture and start to pour it into the molds. I have found that using something like a Pyrex measure cup with a spout can help you avoid messes.
Just dip it into the pot, scoop out what you need and distribute amongst the molds. Towards the end, use your silicone spatula to scoop the last bits of liquid soap from the pot.
Cure Time
Whelp, you’re done. That wasn’t so bad was it? Now you have the ironic task of cleaning up your pots, utensils and equipment with…soap. Dish soap works pretty good here. Cure time: for years I was waiting 45 days before using because that’s what all the online soap gurus say.
I thought it was because the lye was still strong and was going to burn if I used it prematurely however recently I tried out a bar just a few days after I made it. It was actually totally fine. You probably get a harder soap and an improved lather by waiting but hey, life is short!
Some folks online say you shouldn’t use it until at least 6 months has passed but those might be the same folks that abide by all kinds of strict wine drinking rules too. Once my soap bars are ready to be popped out of the molds (a day or two) I put them in a box and put the “ready date” on them (if you want to wait).
Does soap making save you money?
Now lets talk dollars and sense. Are you going to save incredible amounts of money by making your own soap? The short answer is “no”. If you buy your lye and oil in large enough quantities you will save money but it won’t be a ton.
Doing some quick math, if I made 5 batches of soap with the 270 ounces of oil and 8 lbs of lye I would save about $21 dollars. These numbers are based on my observation that soap in stores cost about a dollar for a Dove sized bar (whereas my bars in my molds are larger) and not all 8 lbs of lye would be used in 5 batches of soap.
So my savings would actually be more than $21 dollars but the more important factor to consider here is that you get the satisfaction of making and using your own soap. You know exactly what is in your soap.
Just 3 things, that’s it! And of course you can experiment with the recipe and add exfoliates and all that kind of stuff. Its easy to do and I like to make several batches over several days and not have to think about soap for the year.
The soap produced will have a noticeably different texture when in use. The lather with be will be very creamy however don’t let that fool you, this soap will yield the most squeaky clean feeling you can get. And I do mean squeaky, literally.
This cold process soap that I have been making for over ten years has proven itself time and time again. Its been the only thing that could easily remove pine tar from my hands after cutting and moving branches.
Cold process gives you the freedom to try different additives like exfoliates and natural fragrances as well as different types of oils like avocado oil, canola, coconut oil etc.
I have messed around with fragrances in the past but really it didn’t make much difference. You also have to understand how much to add and when. Doing it wrong can disrupt the saponification process and leave you with a mess.
If you do decide to get into fragrances, I recommend going with one that is phthalate-free. I have gotten mine at a site called elementsbathandbody.com.
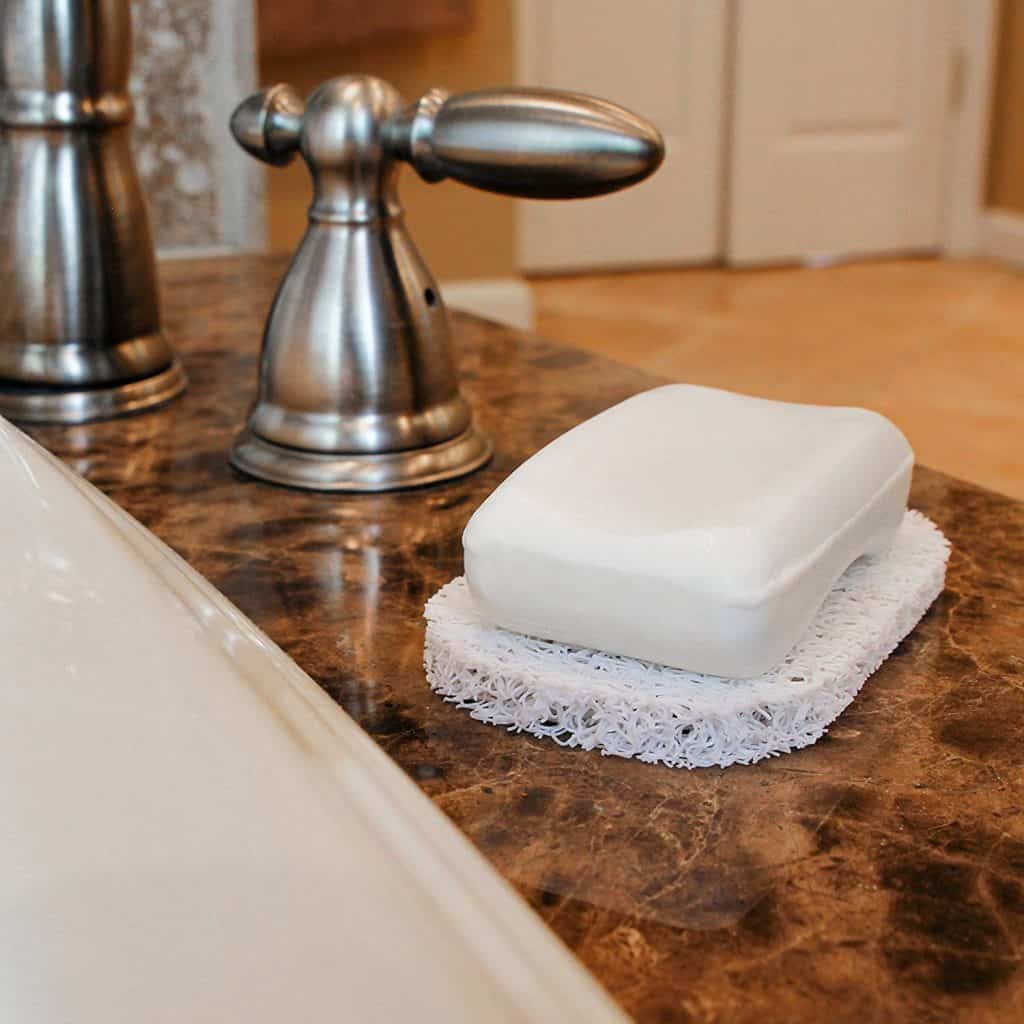
Recently, I found these handy little soap savers made out of some kind of mesh material. Essentially they provide a place to set your soap on but won’t allow your soap to get soggy because the mesh lets water through. Pretty cheap and work great.
I also recommend NOT buying kits. They are expensive. If you want to just get your feet wet then simply go to the grocery store for your oils and Amazon for lye. Use a baking tin for the mold (then cut later).
If you decide that you’re a crafty kind of person and you are certain that this will be for you then by all means jump right in.
I hope you have enjoyed this guide and found it useful. If you have any questions are encounter any problems don’t hesitate to ask!


Comments are closed.